

Lush, voluminous eyelashes have always been a coveted asset in the beauty world, radiating glamor and dramatically enhancing facial features. Yet, not everyone is keen on splurging at the salon for professional lash extensions, especially when similar results can be achieved right in the comfort of your own home.
This guide explores how you can elevate your lash game without breaking the bank, delving into techniques, products, and tips that empower you to replicate salon-quality results independently.
Understanding the Basics of DIY Lash Extensions
Before diving into the world of DIY lash extensions, it’s essential to grasp the basics. Lash extensions involve attaching synthetic, silk, or mink fibers to your natural lashes to enhance length, curl, and volume. While professional application at a salon typically offers longevity and a meticulous finish, at-home kits have significantly evolved.
These kits offer a variety of lash styles and adhesives that cater to different looks, from subtle enhancements to dramatic volume. By understanding the tools and materials available, you can effectively select the right products that suit your desired outcome and ensure a safe application process.
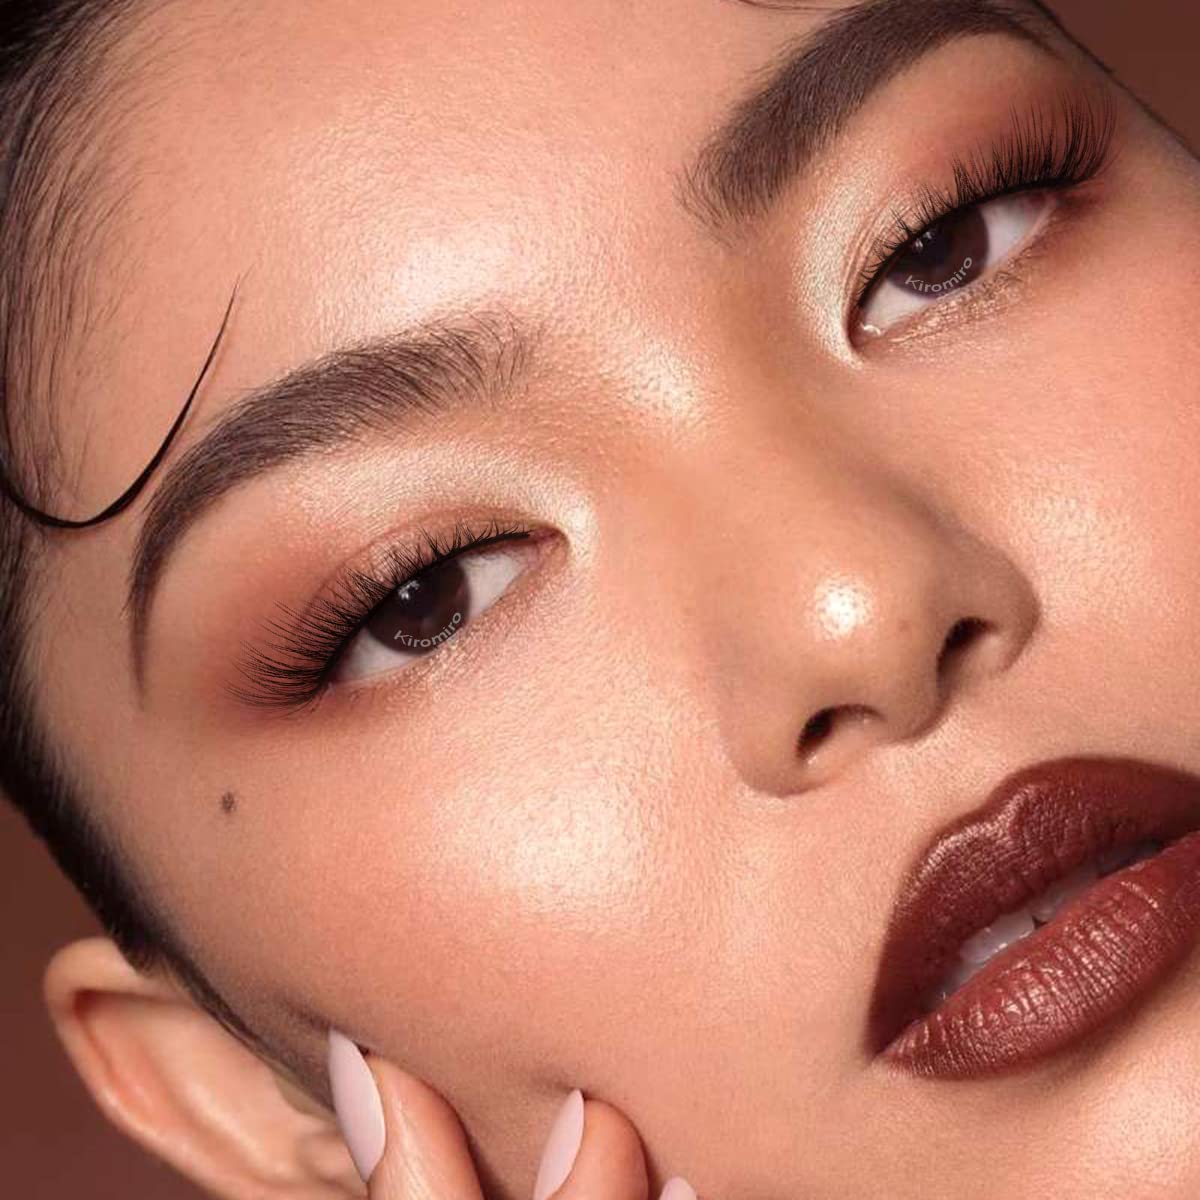
The Charm of Subtle Lashes: Why Less Can Be More
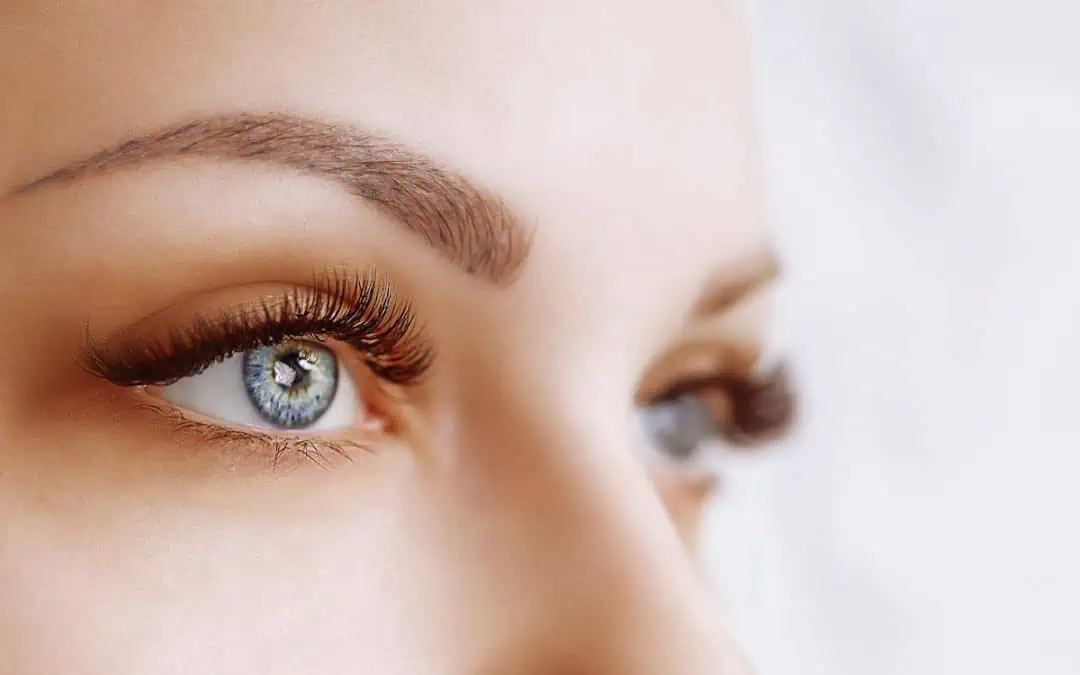
Natural eyelash extensions are wispier and more subtle than their volume or hybrid counterparts. For many, the appeal lies in their ability to enhance beauty subtly. These extensions blend seamlessly with your natural lashes, giving a lift and elegance that looks effortlessly yours. Opting for a more natural look suits everyday wear and reduces the risk of overwhelming your eyes or damaging your natural lashes.
When applying these lighter extensions, focus on perfecting the technique of isolation and application to avoid clumps and ensure each extension adheres properly without compromising the health of your natural lashes. This approach accentuates your eyes and maintains a classy, understated elegance that complements any outfit or occasion.
Empower Your Beauty Routine with Strategic Lash Care
Empower your beauty routine by integrating strategic lash care to maintain the longevity as well as the quality of your DIY lash extensions. Proper care starts with the right application, ensuring that each lash is meticulously applied and secured. Beyond the initial application, daily maintenance is crucial. Gently clean your lashes with an oil-free remover to avoid breaking down the adhesive. Invest in a good lash sealant to protect against moisture and dust, which can weaken the bond over time.
Also, avoid rubbing your eyes and use a silk pillowcase to minimize sleeping friction. By taking these steps, you not only extend the life of your lash extensions but also protect your natural lashes, keeping them healthy and strong. This proactive approach to lash care saves you money in the long run and ensures that your lashes always look their best.
Step-by-Step Guide to Applying Your Lashes Like a Pro
Mastering the application of DIY lash extensions is essential for achieving that professional look at home. Begin by ensuring your natural lashes are clean and free of any oil or makeup, as this ensures the adhesive will hold properly.
Use high-quality, precision tweezers to handle the lashes. Dip the end of the extension into a small drop of adhesive and wait a few seconds for it to become tacky. Starting from the outer corner of your eye, gently place the extension on top of your natural lash, slightly away from the eyelid, to avoid irritation.
Continue this process, working towards the inner corner, and remember to space the lashes evenly. The key is patience; take your time to achieve a flawless finish. Consider brands like Lashify that come with a full and customizable kit, not to mention an app and YouTube tutorials that make this entire process a breeze – even on your first try.
Troubleshooting Common DIY Lash Extension Issues
Even with careful application, you might encounter some common issues with DIY lash extensions. If you find that your lashes are clumping together or the extensions are not adhering properly, it might be a sign to check your technique or the quality of the adhesive. Clumping often occurs if too much glue is used or if the extensions are applied while the glue is too wet.
If you notice premature falling out of your lashes, this could be due to improper application or the lashes not being fully dry before exposure to water or steam. To address these issues, always ensure you are using the right amount of glue, apply lashes meticulously, and allow sufficient drying time.
Advanced Tips for Maintaining and Removing Lash Extensions
Regular upkeep is necessary to keep your DIY lash extensions looking fresh and professional for as long as possible. Avoid oil-based skincare and makeup products around the eyes as they can dissolve the adhesive. Instead, opt for water-based products and gentle, non-oily makeup removers. For removal, never pull on the lashes, as this can cause damage to your natural lashes.
Use a dedicated lash extension remover that you can apply along the lash line to dissolve the glue gently. Let the remover sit for a few minutes, then use a clean mascara wand or tweezers to gently slide the extensions off. After removal, cleanse your eyes thoroughly to remove any residual glue, and treat your natural lashes with a nourishing serum to keep them healthy.
Unleashing Your Inner Lash Artist
Embracing the DIY approach to lash extensions saves money and gives you the flexibility to tailor your look for any occasion, all from the comfort of your own home. With the right tools, techniques, and care, you can achieve beautiful, long-lasting eyelash extensions that look as good as any professional job.
Remember, the key to perfect lashes lies in practice and precision. So, empower yourself with these tips and tricks, and watch your lash confidence soar as you master the art of the perfect at-home lash extension. Happy lashing!